LAB EX — 4 CREATION OF VPC NETWORK IN AWS
Creation of VPC along with creation of ISP to enable communication with virtual private server the pre-requisites required are
- AWS account
- A basic knowledge in creation of security groups, ec2 instance and key pair (please refer this blog)
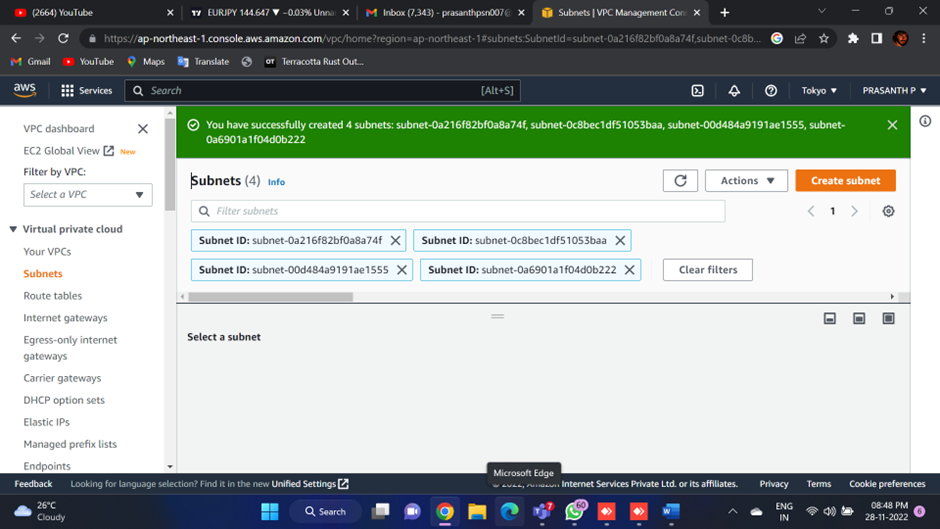
similarly create other two private subnets with ipv4 CIDR blocks 192.168.30.0/24, 192.168.20.0/24
3. After creation of subnets we have to create a ISP for establishing communication with the outside world
4. Now choose public subnet and click the route table link and add a new route inside the table under routes section5. After adding the ISP to the routing table create a separate routing table for private networks that contains only 192.168.0.0 route inside it and assign it to the remaining private networks
6. Now it’s time to create a instance, I am going to create a ec-2 instance using the public subnet of the vpc that has been created also create a security group for this vpc allowing ssh requesting from all addresses
7. After creating public ec-2 instance now we have to create a private ec-2 by disabling public IP and choose a private subnet in the subnet section we should also create a security group allowing ICMP requests from 192.168.0.0/16
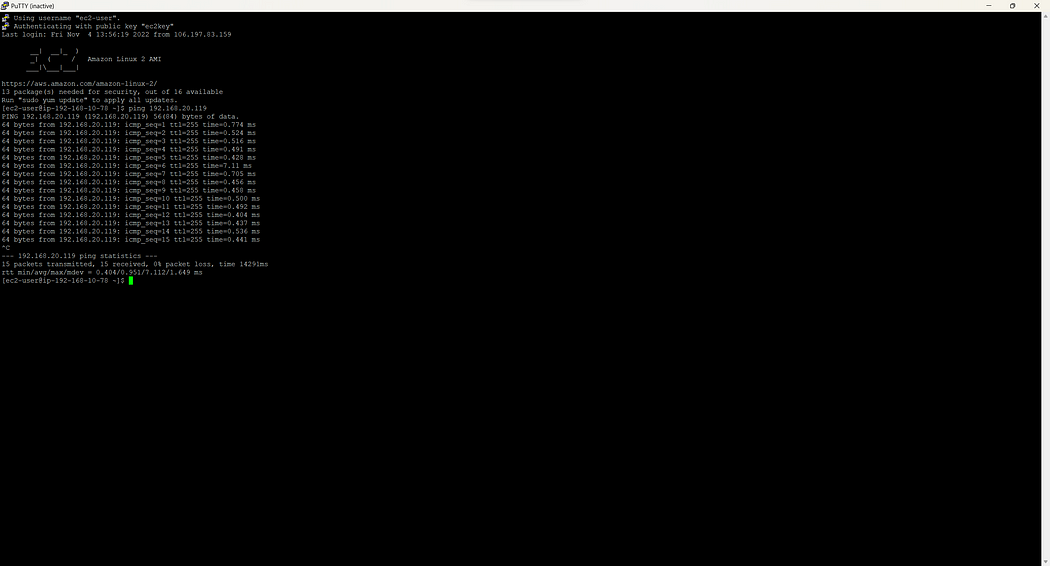
8. Similarly create instances for all the private subnets once all the instance are created open public ec-2 instance from putty from the public ec-2 now you should be able to ping to private servers


Comments
Post a Comment